The Pi Pixel Project
I wanted to learn a bit more about coding, so recently I began using codecademy.com to teach myself about Python.
I needed a project. International π (Pi) Day was coming up on March the fourteenth (3/14 for those using the MDY date system), so I decided to use the almost infinite randomness of π to create an image.
To do this I knew I needed lots of decimal places of π and I needed to write a script that could create an image out of these digits.
My first port of call was working out if python had a way of creating images. I found Pillow, a Python Imaging Library (PIL) fork which seemed to be able to create and edit images in the way that I needed.
Next was to decide how I was going to convert the mass digits of π into something that resembles colour.
I chose to take every three digits of π after the decimal point and string them together as three decimal values ranging between 0.000 and 0.999, essentially creating a 32-bit floating point value for each channel of the RGB colour system. Unfortunately I couldn’t get Pillow to create a 32-bit floating point image, so I had to reorder these values to an RBG 8-bit range.
• Thus, the first 9 digits after the decimal place of π are: 141592653
• Strung together as 32-bit RGB value they come out as: R 0.141 / G 0.592 / B 0.653
• Multiplied by 256.256256 (recurring) in order to get an 8-bit RGB value, they appear as: R 36 / G 151 / B 167
• And the first pixel of π is A DARK CYAN!
The first row of ten pixels looks like this, scaled up of course:

To get the millions of digits of π that I wanted, I turned to the old faithful friend, the internet.
To start, I tested my idea using only 1 Million digits of π thanks to the people over at piday.org, go and have a look at what 1 Million digits looks like.
Then I found a downloadable list of the first 13 Trillion digits of π supplied by Shigeru Kondo. He held the record for crunching 12,100,000,000,050 digits of π in 94 days back in December 2013 using y-cruncher developed by Alexander Yee. The record is now held by the anonymous “houkouonchi” for crunching 13,300,000,000,000 in 208 days, also using Alexander Yee’s y-cruncher in October 2014.
I ended up only using the first 100 Million digits of π, I figured that was a good enough place to start.
For the actual python script, I used a ‘for’ loop as the basis to tell python to take every consecutive three, three-digit string of π and convert it into a value for each of the required RGB. That ‘for’ loop ended up looking like this:
for i in indices:
    x = i % width
    y = i / width
    r = (i*9)+2
    g = (i*9)+5
    b = (i*9)+8
    red = int(int(Pi100Mil[r:r+3]) * 0.256256256256)
    green = int(int(Pi100Mil[g:g+3]) * 0.256256256256)
    blue = int(int(Pi100Mil[b:b+3]) * 0.256256256256)
    im.putpixel((x,y), (red,green,blue))
Where:
• ‘indices’ was the range of digits after the decimal place of π.
• ‘Pi100Mil’ was the 100 million digits of π and in the square brackets is the range for each of the channels.
• and ‘width’ is the requested width of the canvas, chosen by the user.
Once I had that working* the rest was just setting all of the functions, importing the 100 million digits of π creating a few error if/elif/else commands and setting up a way for the user to enter the width and height of the image themselves.
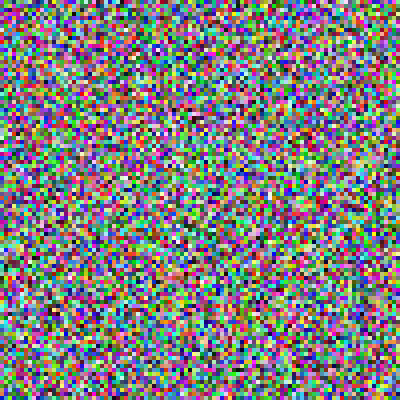
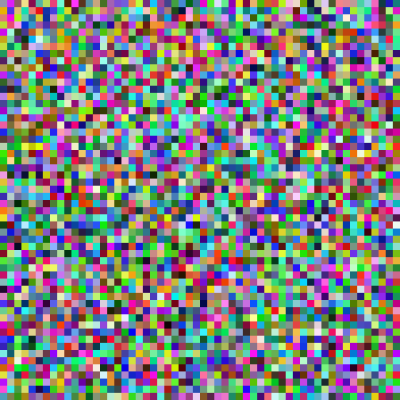
Here is the first 100 pixels of π, represented by 900 digits of π after the decimal place, again scaled up:
Part of the fun of this idea was to see the different images of π I could create.
Although the first line will always look the same up until the width of the canvas, the rest of the image will look different if you choose a different width each time you make it, just because each pixel will be surrounded by different pixels. Currently, the largest total area you can create is 11,111,111 pixels. That could be a canvas size of 3,333 x 3,333 px or 111,111 x 100 or anything else you want!
You can download and use my python script from github.
You will need to install pip and Pillow from your command line and run my ‘Pi Pixel Project’ python script.
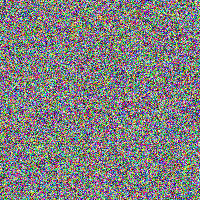
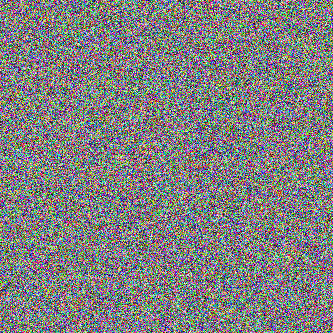
Here are a few more of the π images I have created using my python script. To view them properly, it may be best to download them.
*And lastly, a big thanks to my brother Hayden Stainsby for help with the coding, and getting that bloody ‘for’ loop to do what I wanted it to do!

